How To Secure Wheel Trims Without Cable Ties: A Comprehensive Guide

Wheel trims, also known as hubcaps, are an essential part of a car’s aesthetics, providing a polished look and some degree of protection to the wheel. However, keeping them securely attached without resorting to unsightly cable ties can be a challenge. Here’s a comprehensive guide on how to secure wheel trims effectively without using cable ties.
Why Avoid Cable Ties?
While cable ties are a quick fix for loose wheel trims, they aren’t the most elegant solution. They can detract from the overall appearance of your vehicle and may not provide a secure attachment in the long run. Here are some more sophisticated alternatives:
1. Use High-Quality Wheel Trims
One of the simplest ways to ensure your wheel trims stay in place is to invest in high-quality trims. Cheaper versions often have flimsy clips that don’t hold up well under driving conditions. Look for trims made from durable materials with robust clips designed for a snug fit.
2. Proper Installation Technique
Step-by-Step Guide to Installing Wheel Trims:
- Clean the Wheel: Ensure that the wheel surface is clean and free from dirt, grease, and debris. This ensures a better fit and prevents the trim from loosening.
- Check the Fit: Before installation, check that the trim matches your wheel size and design. Misfit trims are more likely to come loose.
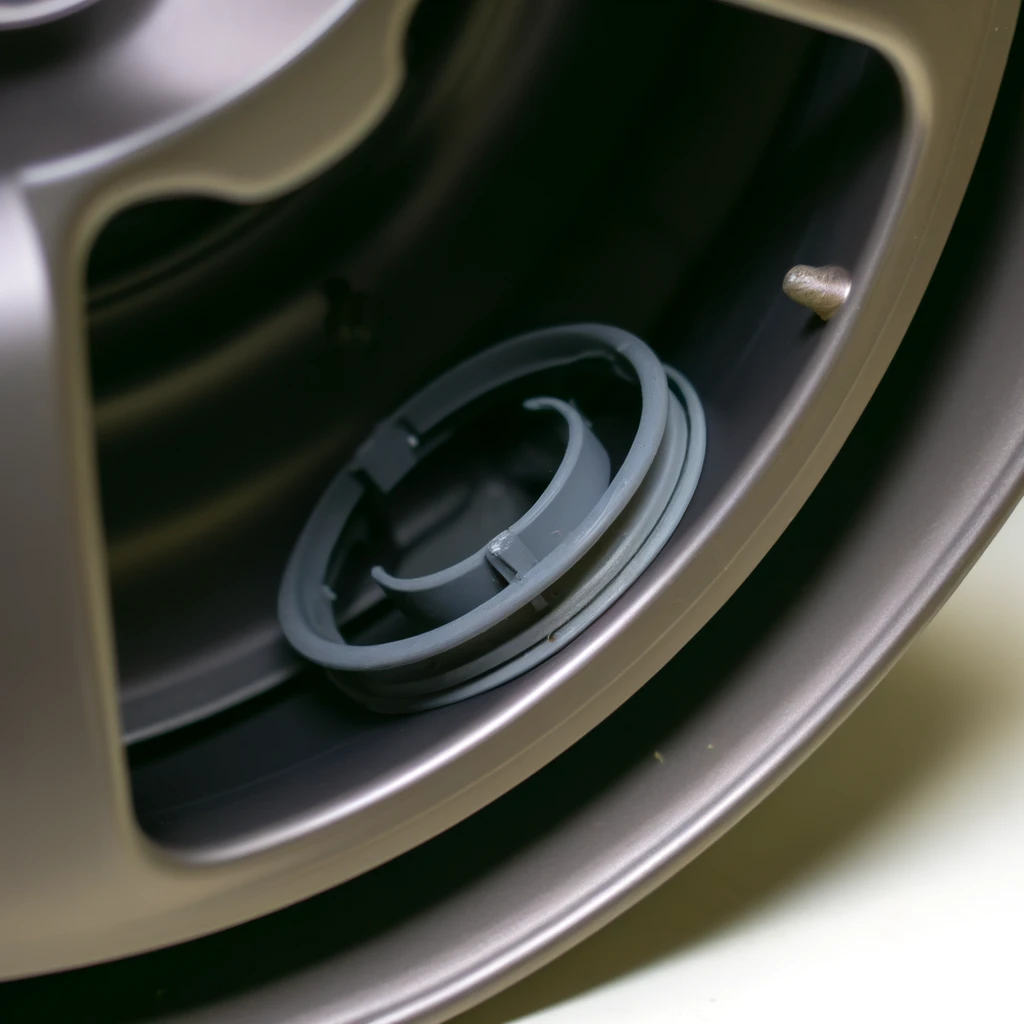
- Align the Trim: Align the valve stem cutout on the trim with the valve stem on the wheel. This helps in positioning the trim correctly.
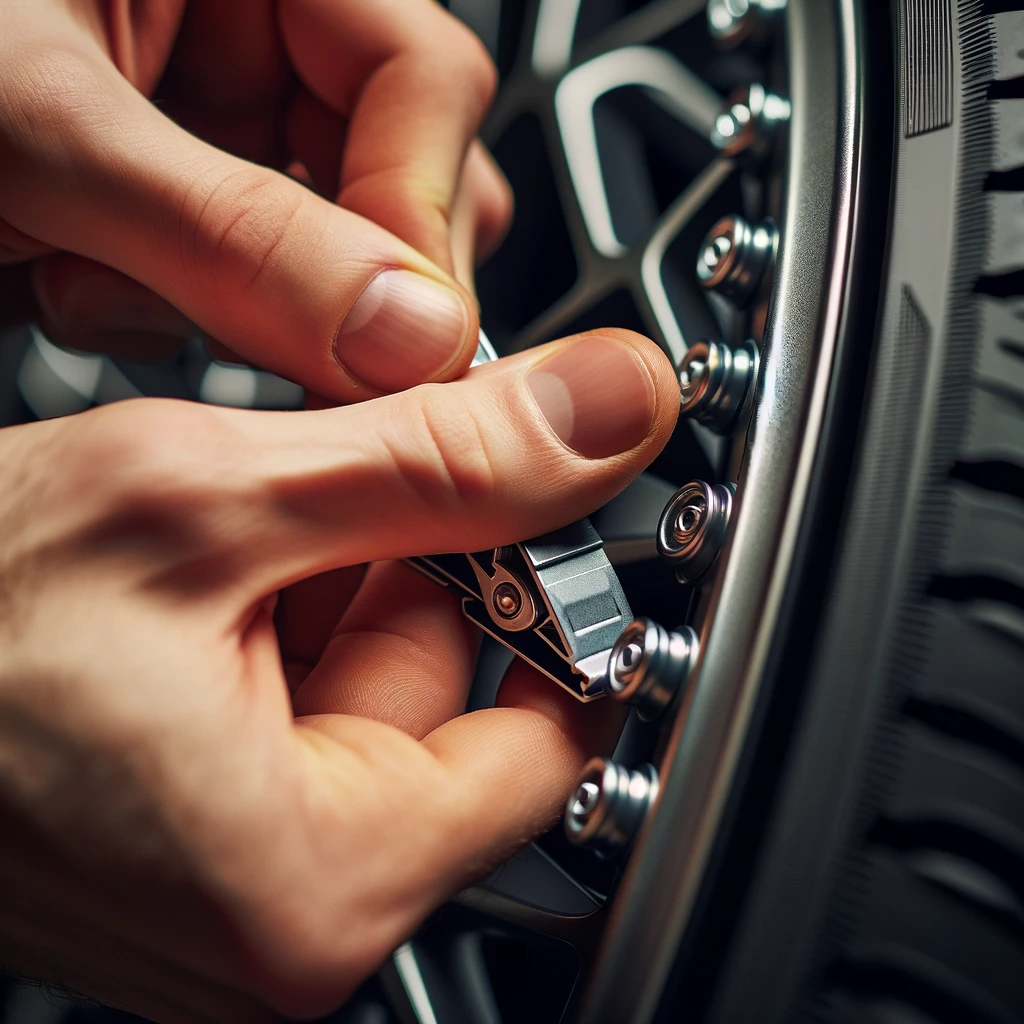
- Secure the Clips: Start by pressing the trim gently into place, ensuring the clips engage with the wheel rim. Work your way around the trim, pressing firmly to snap each clip into position.
- Final Check: Once the trim is installed, give it a gentle tug around the perimeter to ensure all clips are securely fastened.
3. Use Retaining Rings
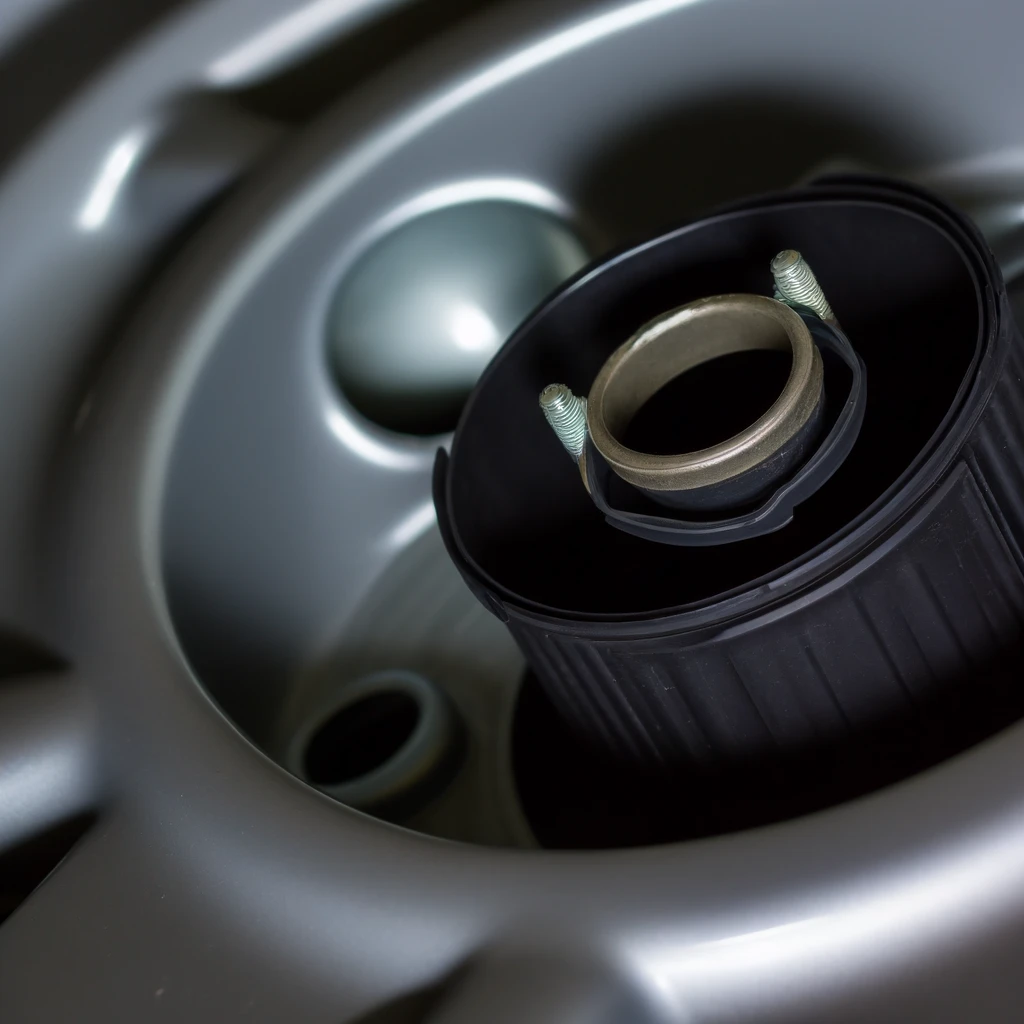
Many wheel trims come with retaining rings, which provide extra security. These metal rin
Installing Retaining Rings:
- Position the Ring: Place the retaining ring inside the trim, ensuring it sits evenly around the inner edge.
- Attach the Trim: Follow the same installation steps as before, but now the retaining ring will add extra pressure, helping to keep the trim secure.
4. Apply Adhesive Strips
Adhesive strips, specifically designed for automotive use, can offer additional security for your wheel trims. These strips provide a sticky backing that helps keep the trim in place even on rough roads.
Using Adhesive Strips:
- Clean the Surface: Both the wheel and the back of the trim should be clean and dry.
- Apply the Strips: Place the adhesive strips around the edge of the trim.
- Install the Trim: Press the trim onto the wheel, making sure the adhesive strips bond firmly.
5. Regular Maintenance
Regularly checking your wheel trims can prevent them from becoming loose. Each time you wash your car or check your tires, give the trims a quick inspection to ensure they’re still securely attached. If you notice any clips starting to wear or the trims feeling loose, address the issue immediately before it worsens.
6. Professional Installation
If you’re unsure about installing the trims yourself, consider seeking professional help. Many tire shops or auto service centers offer installation services. They can ensure your wheel trims are securely attached using the best techniques and tools available.
Conclusion
Securing wheel trims without cable ties is not only possible but also relatively straightforward with the right approach. By using high-quality trims, employing proper installation techniques, utilizing retaining rings, applying adhesive strips, performing regular maintenance, and considering professional installation, yo
